Exploring for Petroleum
This activity created in partnership with AGI.
Throughout the Earth’s history, the cycle of erosion and deposition by streams, rivers, oceans, and wind has added layer upon layer of rock, soil, and organic material to the surface. Over time, these layers of sediment were covered with more layers, and then even more. As layers got buried, through increased temperature and pressure the sediments hardened and became what we know today as sedimentary rock. As you might imagine, the layers at the bottom were formed before the layers at the top.
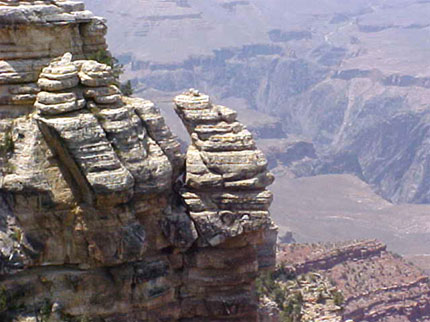 |
In photographs of sedimentary rock formations, you can see these layers clearly. Patterns of color and texture are visible indicators of differing conditions at the time the sediment was deposited. Although there are many places on the surface of the Earth where sedimentary layers are exposed—for example, the Grand Canyon in the United States—most sedimentary rock is beneath the surface and thus not visible.
Geoscientists study the geological history of the Earth by looking at these rock layers. The layers can provide information about the climate and life forms of millions of years ago. They can also show remnants of events such as earthquakes and the presence of resources such as petroleum. But how do geoscientists get all of this information from the rocks that lie below the surface?
 |
|
Video ©American Geosciences Institute, 2012. The video Oil Formation over |
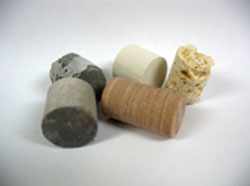
Sedimentary rock layers can be observed at a few places on the Earth’s surface.There are natural exposures, where erosion has worn away the soil on the surface. There are human-caused exposures, where hills are cut into for roads or buildings. However, these account for only a small portion of the sedimentary rock in the Earth’s crust. In order to learn about the sedimentary rock layers that we cannot see, geoscientists must drill into the surface and bring up core samples of the rock layers. Core drilling is done on land, through ice, or into the ocean bottom all over the world. Photographs like the one seen here of sedimentary rock core samples clearly show the layers.
Information from core samples, combined with that from other imaging techniques, allows geoscientists to make maps that show the depth and thickness of the sedimentary rock layers lying below the surface of the Earth. These subsurface geologic maps can be useful for many purposes, including the exploration for petroleum or natural-gas deposits.
Our Experiment
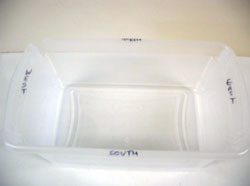
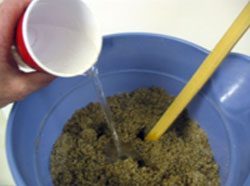
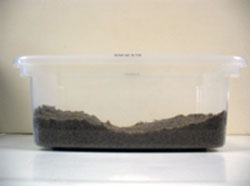
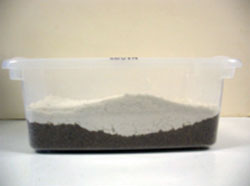
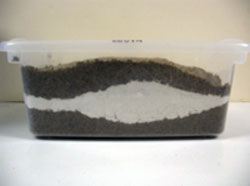
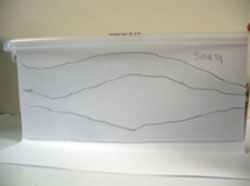
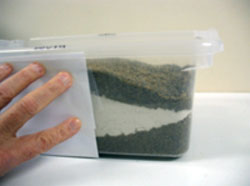
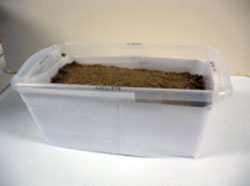
In this activity, you will prepare a three-layer model of a sedimentary rock formation and then figure out how to map the layers. Students should work in groups of at least two or three to design and make a model. Then the groups will switch models to see if they can map the layers accurately. It is important that all groups create their rock layers in secret to make the mapping a challenge to the other groups.
Tools and materials
- Transparent plastic box approximately 32 cm by 19 cm by 11 cm (12.5 in by 7.5 in by 4 in)
- Approximately 6 kg (13 lb) of dark sand and 3 kg (6.5 lb) of a lighter-colored sand, or approximately 3 kg each of three differently colored sands, in separate bowls.
- Two or three large paper or plastic cups
- Two or three wooden rods or sticks
- Marker
- At least 12 transparent plastic drinking straws
- Graph paper
- Ruler
- Water
- Paper towels
- Several pages of blank paper or lightweight cardboard
- Tape
What to do
|
|
||||
|
|
||||
|
|
||||
|
|||||
|
|
||||
|
|
||||
|
|
||||
|
|||||
|
|
|
 |
Digging DeeperFind out more about sedimentary rock layers and core samples |
|
|
|
This content has been re-published with permission from SEED. Copyright © 2025 Schlumberger Excellence in Education Development (SEED), Inc.
Course:


